

Concrete patios
in Haslet, Keller and North Fort Worth
K4 Build Group pours new concrete patios and replaces failing ones for homeowners in Haslet, Keller, Southlake and nearby. Every patio includes demo, grading, a compacted base, reinforcement and planned control joints, finished in broom, smooth, stamped, stained or exposed aggregate.
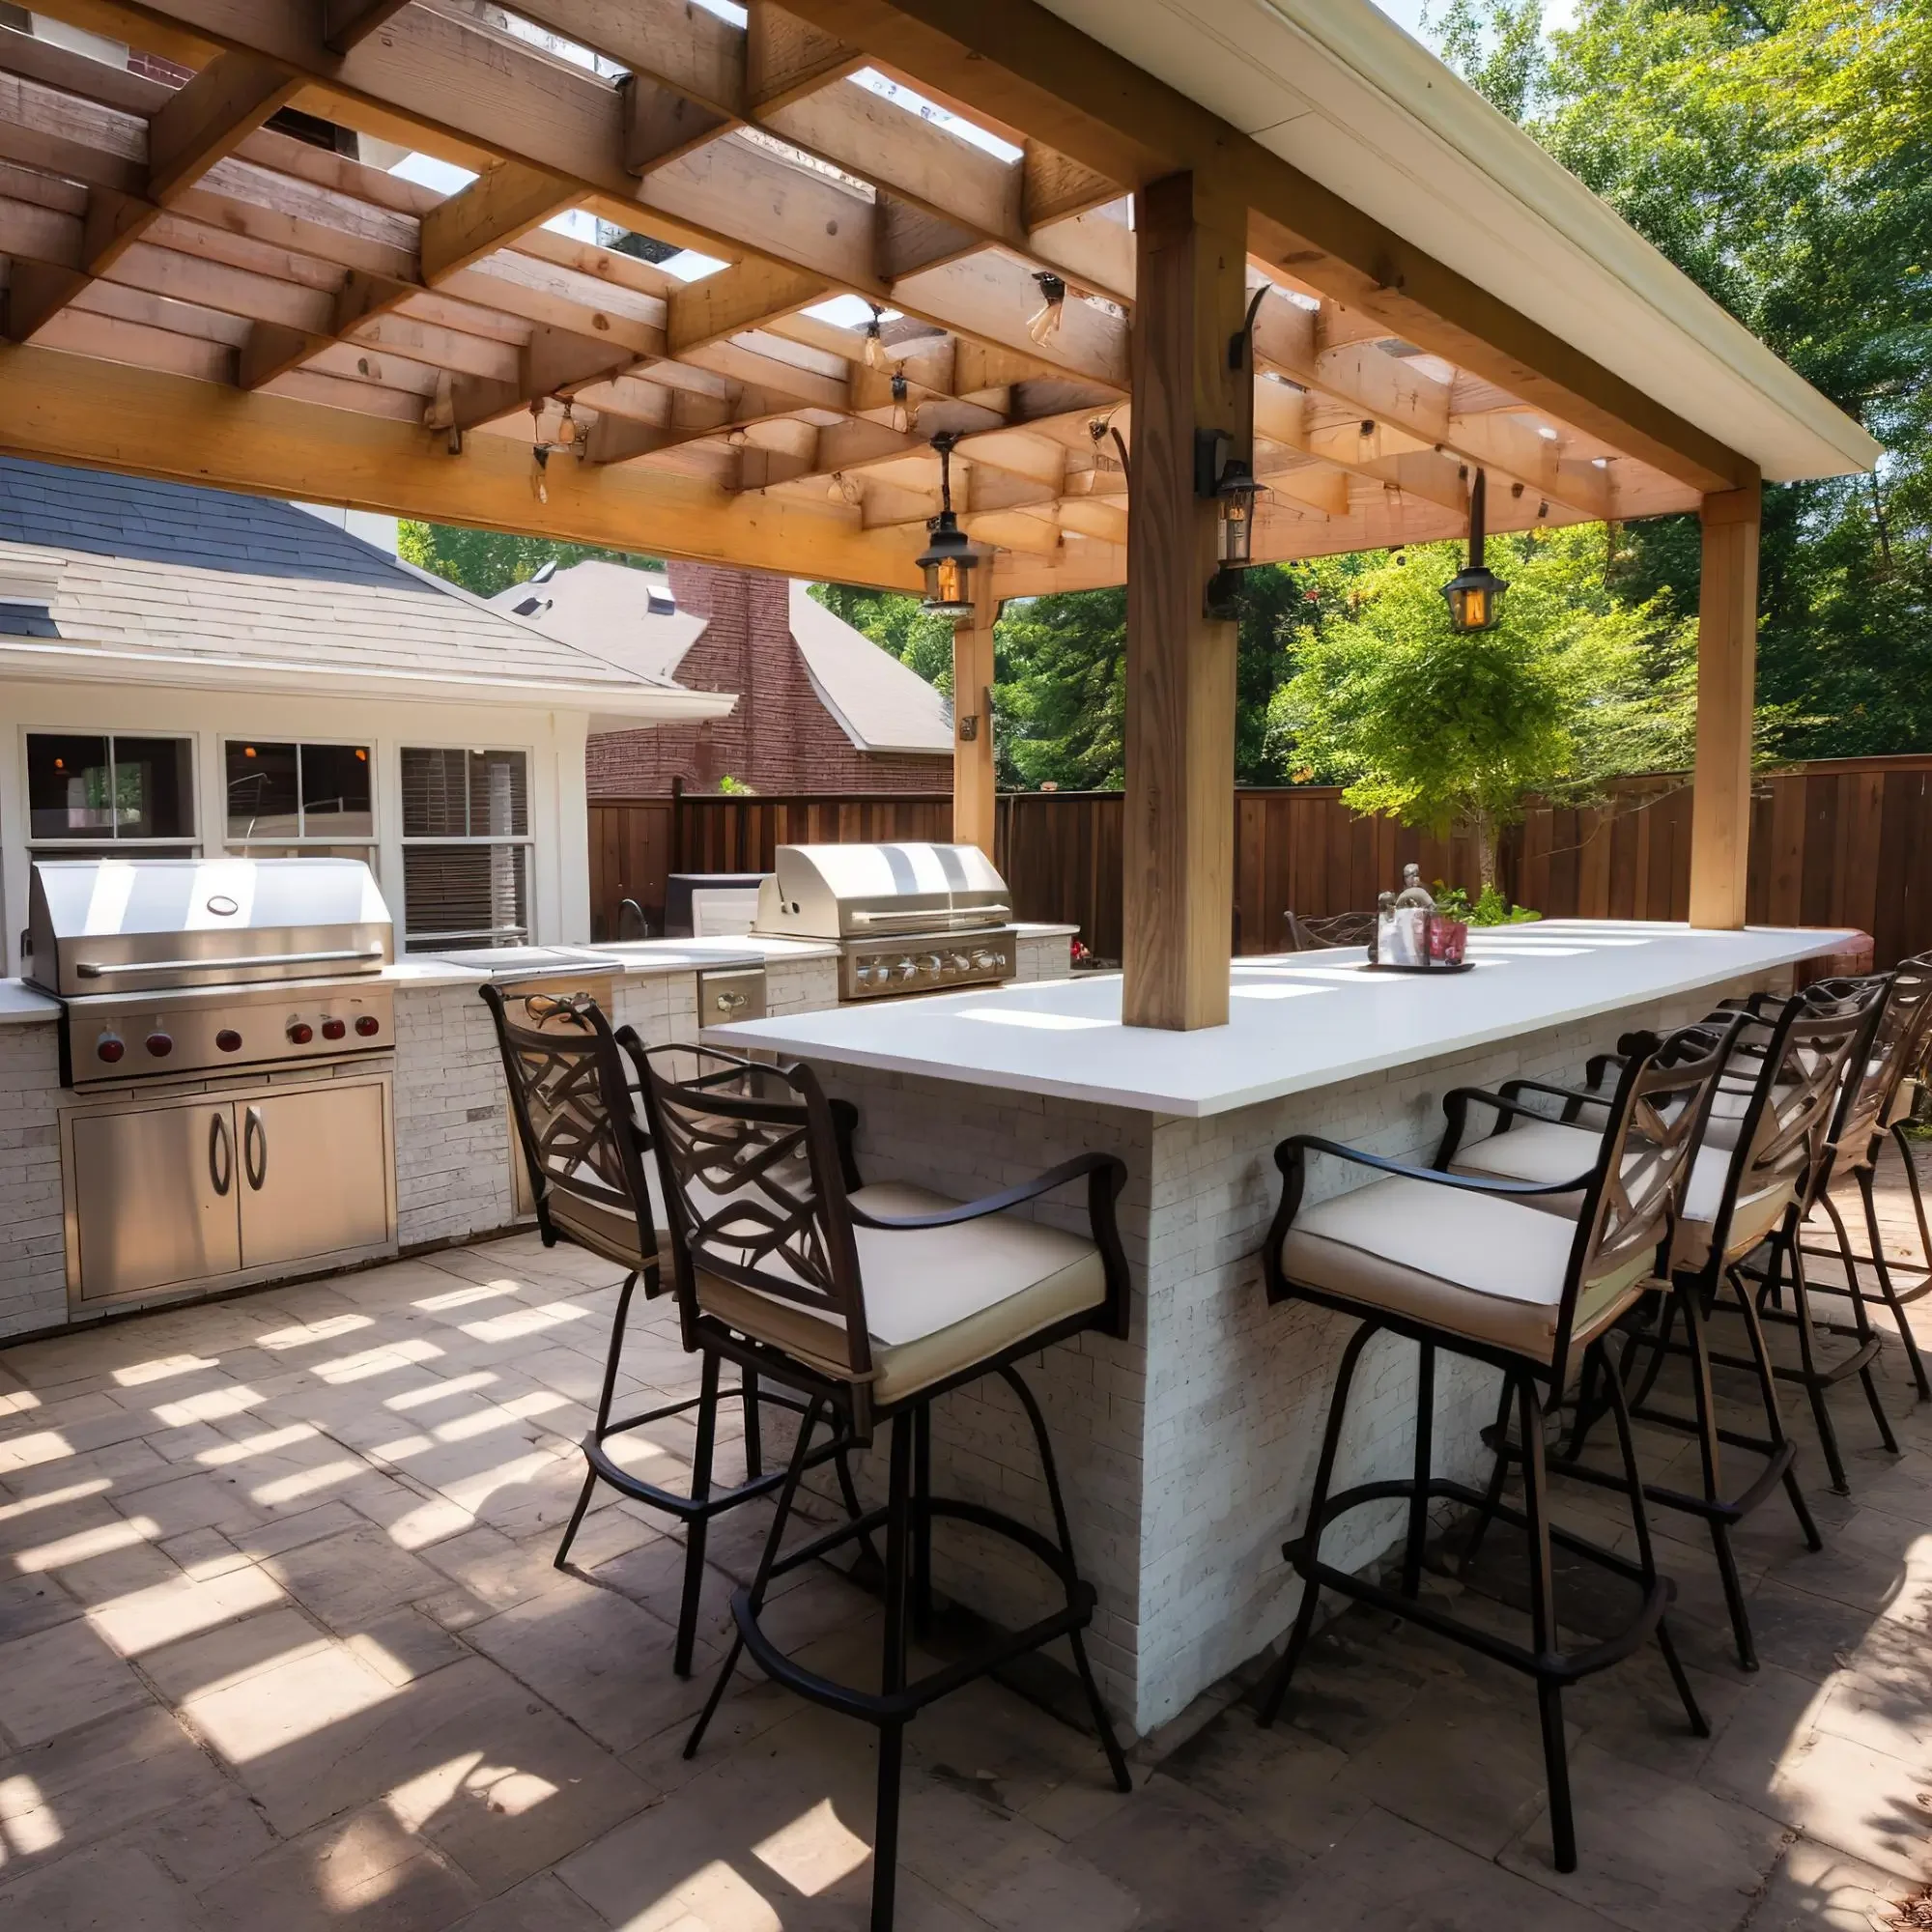
A patio built for living
A patio is the foundation of everything else in the backyard: the dining table, the grill, the fire pit and, often, a patio cover or outdoor kitchen later on. When it's built well, you stop thinking about it. When it isn't, you see it every day in cracks that keep spreading, a low corner that holds water after every storm, or a slab that tilts toward the house.
We start every patio by asking how you'll use it. How many people do you usually host? Where does the afternoon sun hit? Is there a smoker, a hot tub or a future cover in the plan? Those answers set the size, the shape, the thickness and where the joints go. Then we build it with the same steps every time, because the parts you don't see decide how long a patio lasts.
What's included in
every K4 PATIO
1
Site
evaluation
We check existing grade, downspouts, drainage paths, access for equipment and where the new slab meets your foundation.
2
Demo and
haul-off.
Removal of old concrete, pavers, turf and roots, disposed of off site.
3
Grading for
drainage.
The patio is sloped away from the house, typically about 1/8 to 1/4 inch per foot, so water runs off instead of pooling against your foundation.
4
Forms and
edges.
Straight lines or curves, with thickened edges or footings where posts, masonry or a hot tub will sit.
5
Sleeves for the
future.
Conduit or pipe sleeves under the slab for gas, lighting or power you may add later.
6
Pour, finish and
control joints.
Joints placed and cut at the right depth and spacing to control cracking.
7
Curing and sealing.
Care instructions and a walkthrough with you before we caProper curing, plus sealer on decorative finishes.ll it finished.
8
Cleanup and walkthrough
Forms removed, edges backfilled, site cleaned and care instructions reviewed with you.
Concrete patio
finishes compared
| FINISH | LOOK | GRIP WHEN WET | UPKEEP | RELATIVE COST |
|---|---|---|---|---|
| Broom Finish |
Light Linear Texture, Classic |
Good |
Low; Sealing Optional |
$ |
| Smooth Trowel |
Clean, Modern, Uniform |
Low Unless Textured Sealer |
Low; Best Under A Cover |
$ |
|
Exposed Aggregate |
Pebbles Exposed At The Surface |
Very Good |
Low; Reseal Every Few Years |
$$ |
|
Stained Or Integral Color |
Color Through Or On The Surface |
Depends On Texture |
Moderate; Reseal Every 2–3 Years |
$$ |
| Stamped |
Stone, Slate, Brick Or Wood Pattern |
Moderate; Add Grit To Sealer |
Moderate; Reseal Every 2–3 Years |
$$$ |
How we build a patio that lasts on North Texas clay
Much of Tarrant and Denton counties sits on expansive clay soil. It swells when it takes on water and shrinks as it dries, so the ground under a patio is always moving a little. A patio that lasts is built to handle that movement. Here's how we do it.
Drainage comes first
Water is what makes clay move, so we control where it goes. The patio is sloped away from the house, downspouts are directed away from the slab where possible, and we avoid creating low spots that trap water at the edges.
A stable, compacted base
Soft or organic soil is removed and replaced, and the base is compacted so the slab has even support. Uneven support is one of the most common causes of cracked and sunken patios.
Reinforcement in the right place
Steel only helps when it sits within the slab, not at the bottom. We set rebar on supports so it stays in position during the pour, and we thicken the slab where heavier loads will sit.
The right concrete for the job
We use exterior concrete from local ready-mix suppliers, adjusted for the season. In summer we schedule pours for early morning so the concrete doesn't set too fast in the heat.
Control joints, placed on purpose
All concrete shrinks slightly as it cures. Control joints give that shrinkage a planned place to crack, straight and hidden in the joint, instead of randomly across the slab. As a rule of thumb, joints on a 4-inch patio go no more than 8–10 feet apart, at about a quarter of the slab's depth, and inside corners get their own joints.
Proper curing
Concrete gains strength as it cures, and drying too fast weakens the surface. We apply a curing compound or keep the surface moist, especially in hot, windy weather, so the finish stays hard and doesn't flake.
How big should your patio be?
The most common regret we hear about older patios is that they're too small. Furniture needs room to pull chairs out and walk around it. Use this as a starting point, and we'll lay it out on the ground with you at the estimate.
| HOW YOU'LL USE IT | SUGGESTED MINIMUM SIZE |
|---|---|
| Bistro Table Or Two Lounge Chairs | 8 × 10 Ft |
| Dining Table For 4 | 12 × 12 Ft |
| Dining Table For 6–8 | 14 × 16 Ft |
| Dining For 6 Plus A Lounge Seating Area | 16 × 24 Ft Or Larger |
| Grill Or Smoker Station (Add To Any Of The Above) | About 6 × 8 Ft Of Extra Space |
| Fire Pit With Seating Around It | About 14 Ft Circle Or Square |
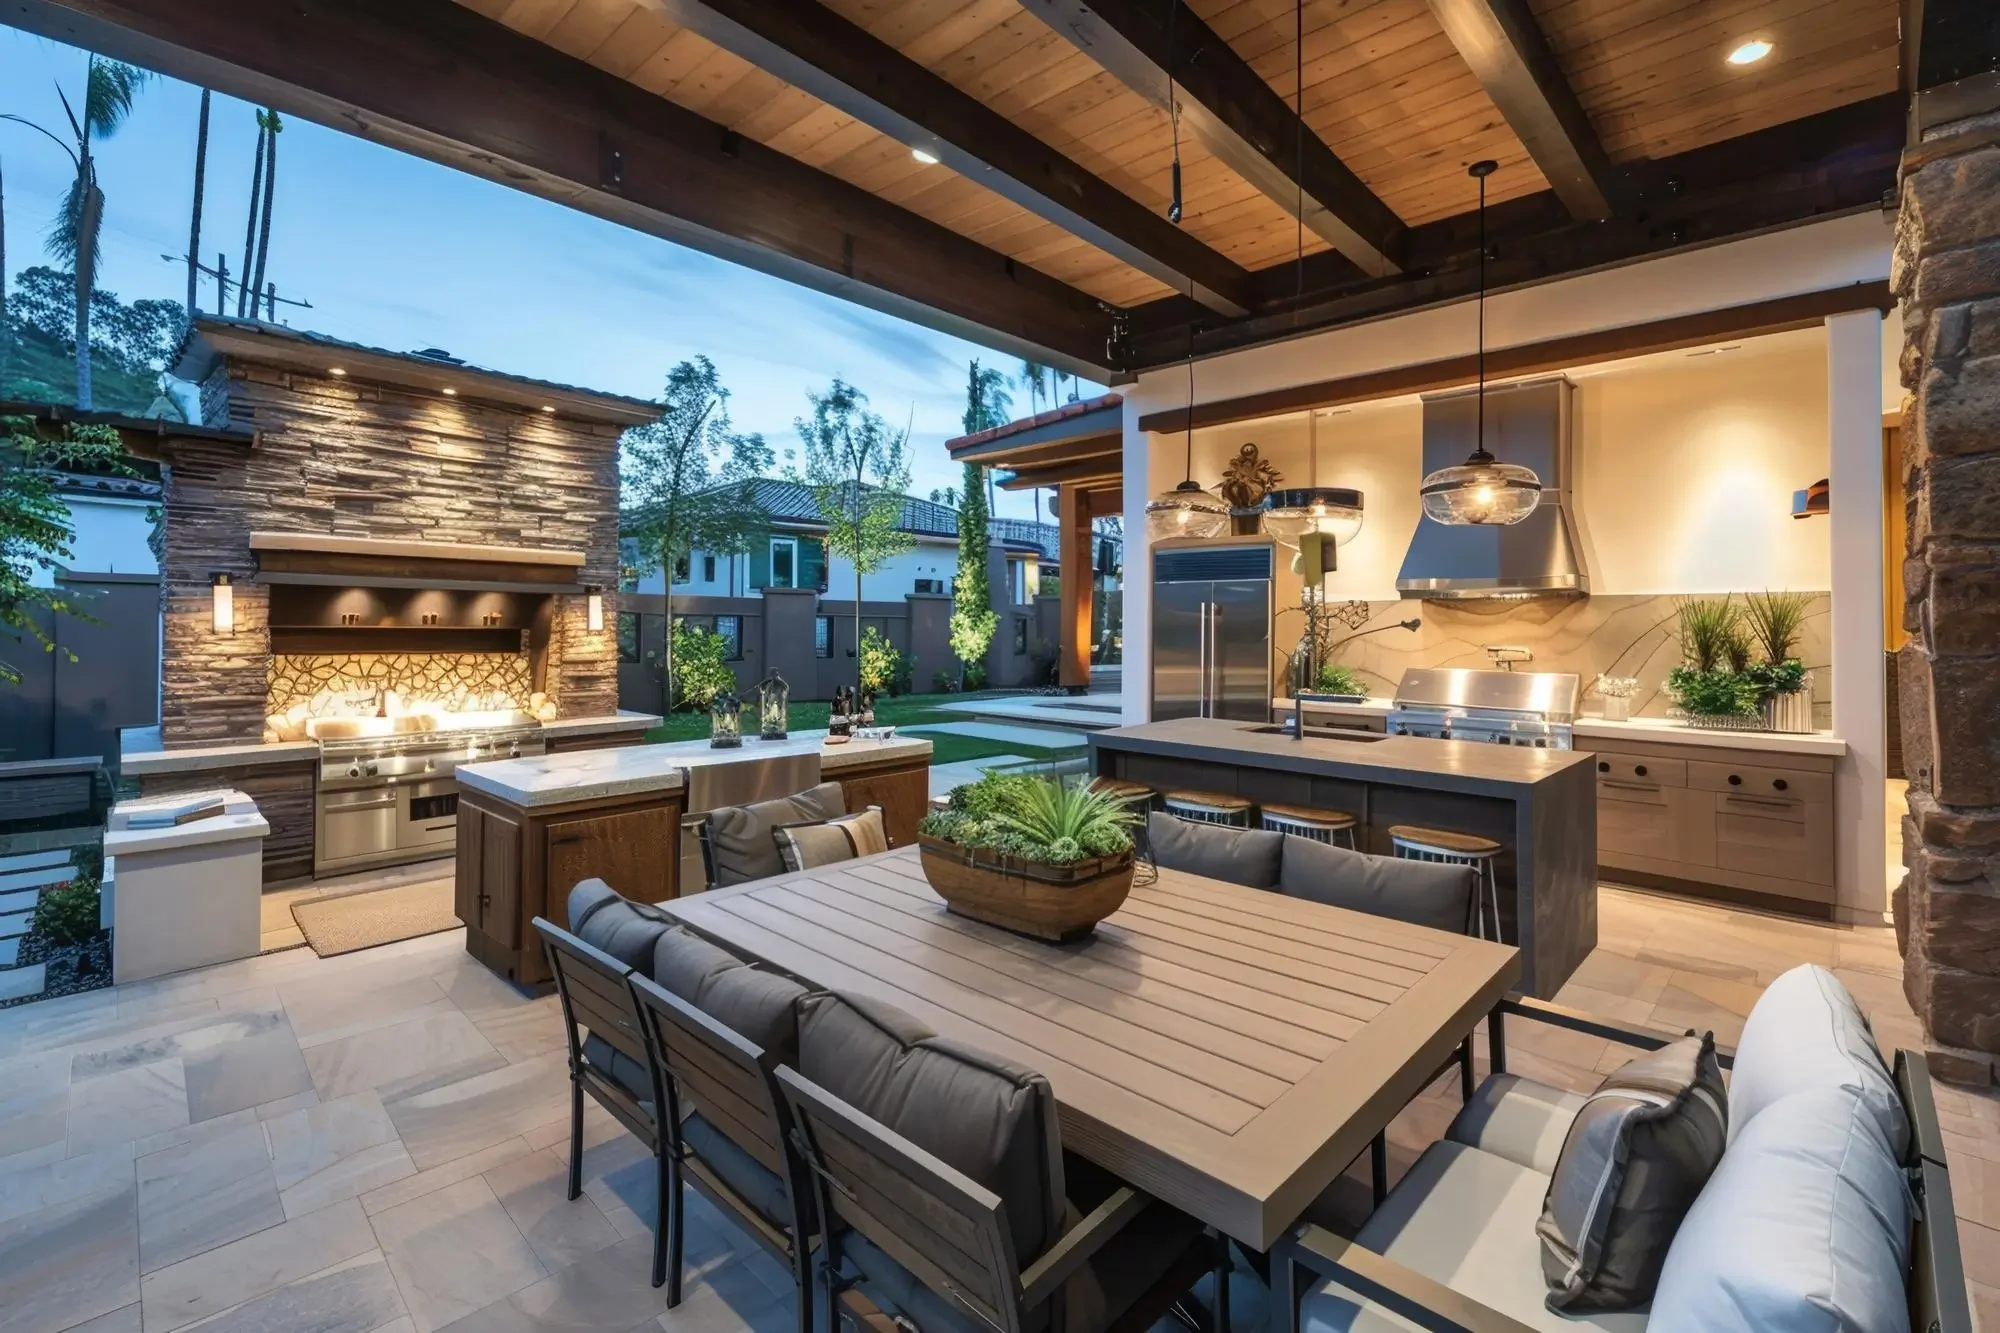
Planning ahead for
a patio cover or outdoor kitchen
If there's any chance you'll add a patio cover, pergola, outdoor kitchen or hot tub in the next few years, tell us before we pour. It costs very little to add footings under future post locations, thicken the slab where masonry will sit, or run empty sleeves for gas and electrical under the concrete. Adding those later means saw-cutting and patching a finished patio. Because K4 also builds patio covers and outdoor living spaces, we can plan the whole backyard on one layout even if you build it in phases.
Caring for your
new concrete patio
The first week
Keep foot traffic light for the first 24–48 hours and keep pets and kids off the fresh surface. Wait about a week before moving heavy furniture, grills or planters onto the patio, and don't drag anything across it.
The first month
Concrete keeps gaining strength for about 28 days. Avoid hot tubs, heavy equipment and anything with sharp metal feet until then. Hose off dirt instead of pressure washing up close.
Year after year
Reseal stamped, stained and exposed aggregate patios every 2–3 years, or when water stops beading on the surface. Clean up grease and rust stains early, keep downspouts pointed away from the slab, and fill any gaps between the patio and the house with a flexible sealant so water doesn't get underneath.
Common questions from
North Texas homeowners
-
Resurface with an overlay when the slab is level and structurally sound but stained, worn or dated. Replace it when it has sunk, heaved, has wide or offset cracks, or holds water. Overlays bond to what's underneath, so they can't fix movement in the base. We check which one your slab needs at the free estimate.
-
A patio cover has a solid roof that blocks sun and rain and is often attached to the house. A pergola has open rafters that give partial, filtered shade and let air through. Covers cost more and usually need a permit. Pergolas are lighter structures and simpler to build.
-
Yes, when it's installed and maintained properly. Stamped concrete handles heat well and costs less than natural stone or pavers. It should be sealed after installation and resealed every 2–3 years to protect the color and surface, and joints must be planned so any cracking stays hidden in the pattern.
-
Exposed aggregate gives the best natural grip and hides wear well. Textured overlays in light colors stay the most comfortable underfoot. Stamped concrete looks the most decorative but needs a slip-resistant additive in the sealer around pools. We help you choose based on use, sun exposure and budget.
-
We can match finish and texture closely, but new gray concrete rarely matches older weathered concrete exactly at first. Where a close color match matters, we recommend a decorative border, a clean joint line or a stain or overlay across both surfaces for a consistent look.
-
Most of our work is residential. We also pour driveways, approaches, parking pads and flatwork for small commercial properties. Call to talk through the scope.
Recent patio projects
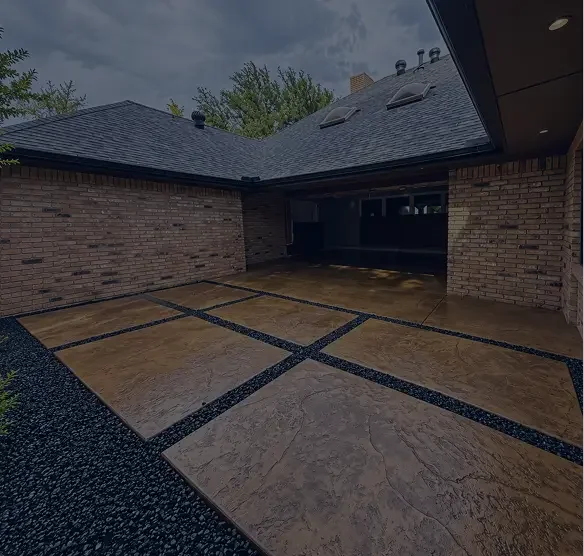
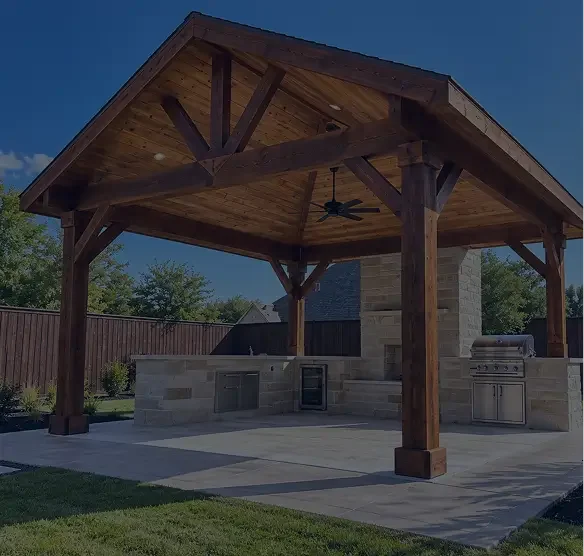
Stamped concrete patio with cedar cover
- Keller, TX
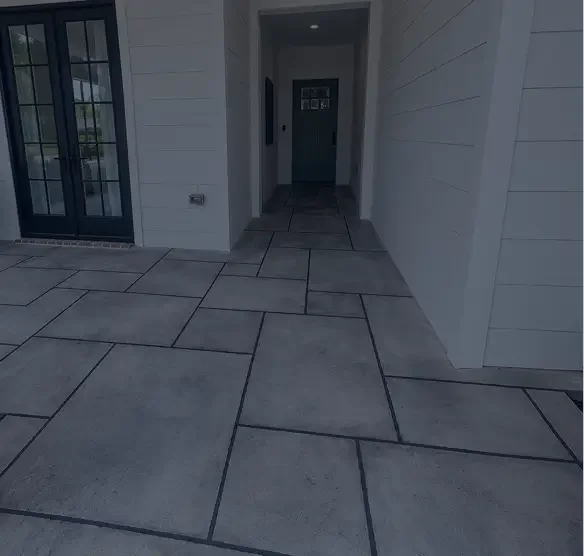
custom concrete
- Haslet, TX
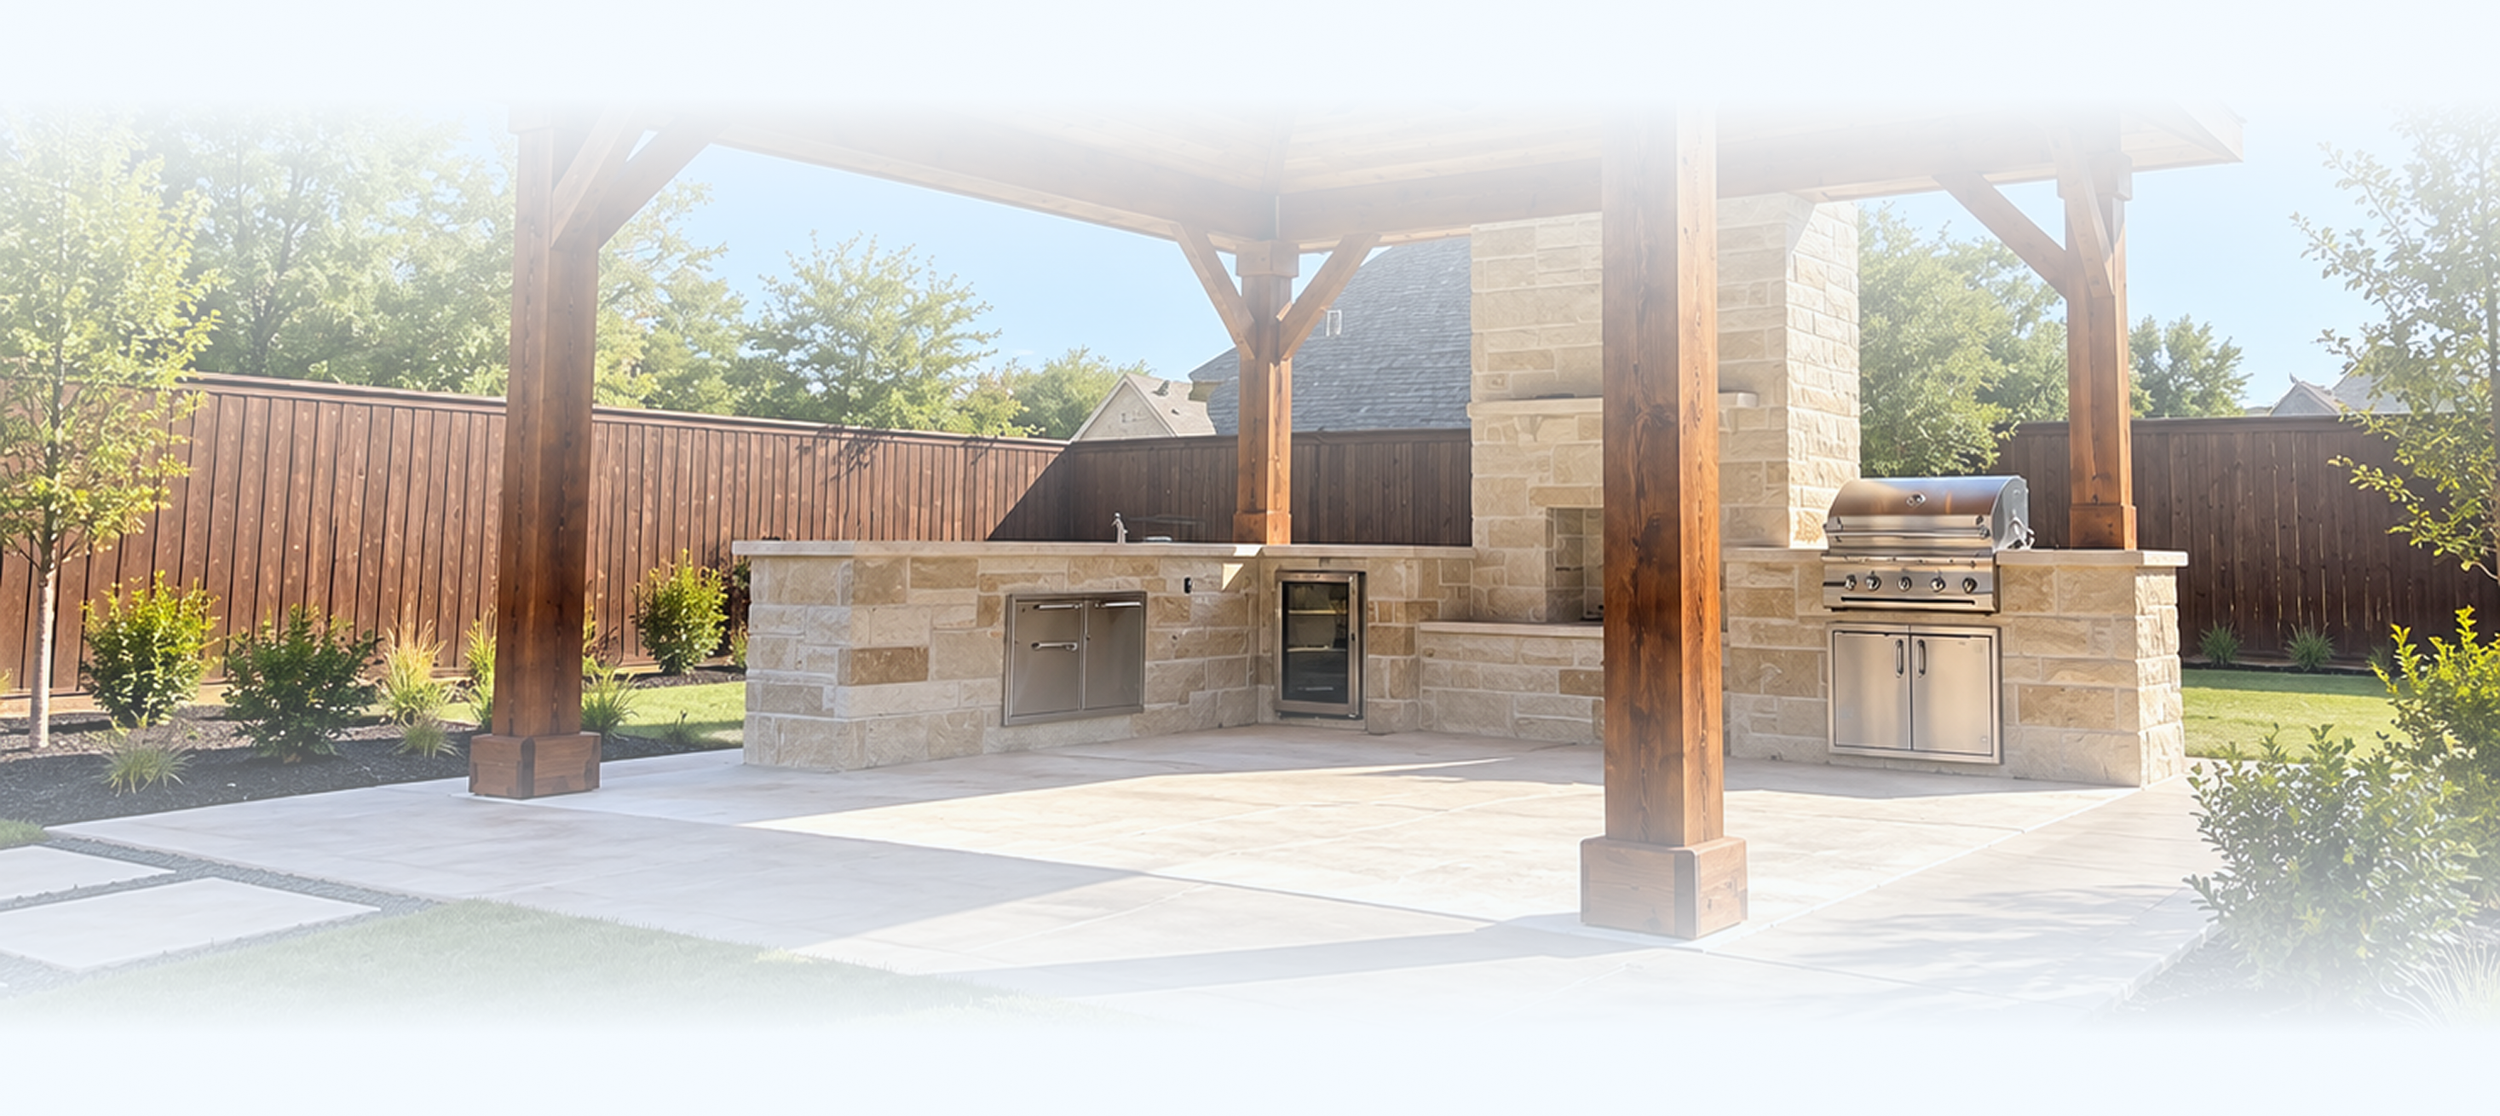
Outdoor kitchen with stone veneer
- Trophy Club, TX
Ready to start your project?
Tell us what you're thinking about and we'll come take a look. Estimates are free, quotes are in writing and there's no pressure to book.